When my family and I moved into our new home, I wanted the kitchen to be more than just a place to cook. It had to be the heart of the house, warm and welcoming, a space that felt uniquely ours. The cabinets, however, were outdated and dull, and the thought of sanding them down with kids running around was overwhelming.
After plenty of trial, error, and late-night research, I discovered methods and products that transformed my cabinets without sanding. The process was faster than expected, surprisingly enjoyable, and the results were durable, smooth, and professional.
In this guide, I’ll share the paints that worked best, the steps I followed, and how you can achieve a similar transformation. If you have been wondering about the best paint for kitchen cabinets, this is the shortcut you have been looking for.
Why Skip Sanding
Sanding is messy, time-consuming, and exhausting. Most homeowners avoid cabinet projects because they picture clouds of dust, aching arms, and endless hours of prep work. What I learned is that with the right cleaning products, deglossers, and primers, sanding becomes unnecessary. You can achieve professional results with far less effort, which is the essence of efficiency: finding the small levers that deliver big results.
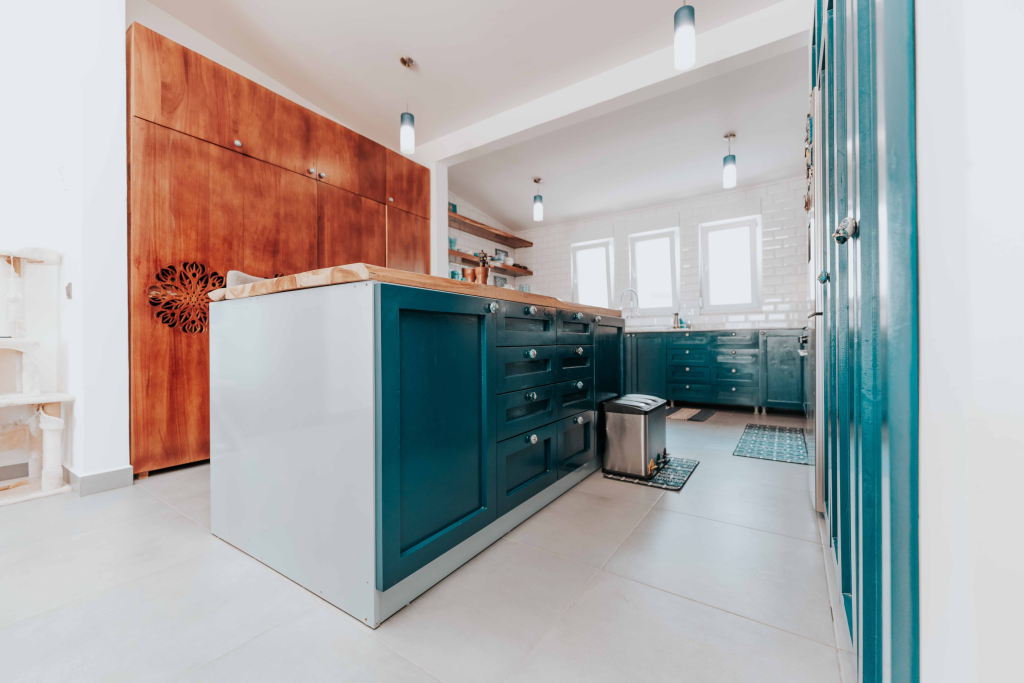
The Best Paint Options Without Sanding
Chalk paint is the easiest entry point. I wiped down the cabinets, picked up a brush, and began. The application felt smooth and effortless, almost like spreading butter on warm bread. The finish gave my modern kitchen a cozy matte look, and it was shocking how quickly the space transformed.
Milk paint mixed with a bonding agent turned the project into something more artistic. I experimented with both smooth and textured finishes, playing with the look until I found the style I wanted. Because it is all-natural, I also felt good about using it in a space where my family spends so much time. Friends noticed the unique finish right away, and it became a conversation starter.
For a high-traffic kitchen, acrylic and enamel paints proved invaluable. They are tough, glossy, and easy to wipe clean. Sticky fingerprints, food splatters, and daily wear disappeared with a quick wipe. Months later, the cabinets still looked freshly painted, which made these paints a reliable option for families like mine.
Cabinet-specific paints impressed me most. They are engineered for this exact purpose, so they bond tightly, resist grease, and withstand the chaos of daily cooking. These paints required no messy prep and stood up to constant opening, closing, and cleaning without losing their finish.
Step-by-Step Guide
The first step was deep cleaning. Years of cooking had left layers of grease, and removing every trace was crucial. After that, I applied a liquid deglosser, which worked like magic and eliminated the need for sanding. Once dry, I used a bonding primer that created a strong base for the paint to adhere to.
For the painting itself, I alternated between foam rollers on the large flat surfaces and angled brushes for the corners and edges. The secret was applying multiple thin coats instead of thick ones. Although it took longer, the result looked clean and professional. Each coat needed time to dry, which tested my patience, but the payoff was worth it.
A small detail that saved me hours was labeling every piece of hardware in plastic bags. Reassembling the cabinets was straightforward, and I avoided the frustration of mismatched screws and hinges.
Paint Brands Worth Trying
Annie Sloan Chalk Paint was my favorite for achieving a matte, cozy look without primer. Rust-Oleum Cabinet Transformations stood out for its toughness, which mattered most in a household with kids constantly pulling at doors. Benjamin Moore Advance was my choice for the kitchen island because of its self-leveling properties and glossy finish that looked like a professional job.
On a tighter budget, BEHR Premium Cabinet and Trim paint worked surprisingly well and held up under daily use. Valspar Cabinet Enamel was another strong option, especially because it leveled itself and disguised amateur brush strokes. For less-used cabinets, Color Place from Walmart did the job at a fraction of the price, though it needed an extra coat.
Key Lessons
Preparation matters more than anything else. Thorough cleaning and proper priming make all the difference. Thin coats are always better than thick ones. And investing in quality brushes and rollers will pay for itself every time you step into your kitchen and admire the results.
Frequently Asked Questions
Can you really skip sanding? Absolutely. With a deglosser and a good primer, sanding becomes unnecessary.
How long does it take? Plan for four days. One day for cleaning and deglossing, one for priming, and two for painting and drying.
Will the paint actually last? Yes. Months later, the finish is holding strong, even with daily use.
What about brush marks? Foam rollers and quality paint made brush strokes nearly invisible.
Was it worth doing myself? Definitely. I saved hundreds of dollars and enjoyed the satisfaction of customizing my kitchen exactly the way I wanted it.
Conclusion
Updating your cabinets without sanding is not only possible but surprisingly straightforward. With the right preparation, the correct paints, and some patience, you can achieve a professional-looking finish at home.
Every time I walk into my kitchen, I am reminded of the effort I put in and the pride that comes with it. If you are ready to refresh your space, this no-sanding method is one of the most rewarding projects you can take on.